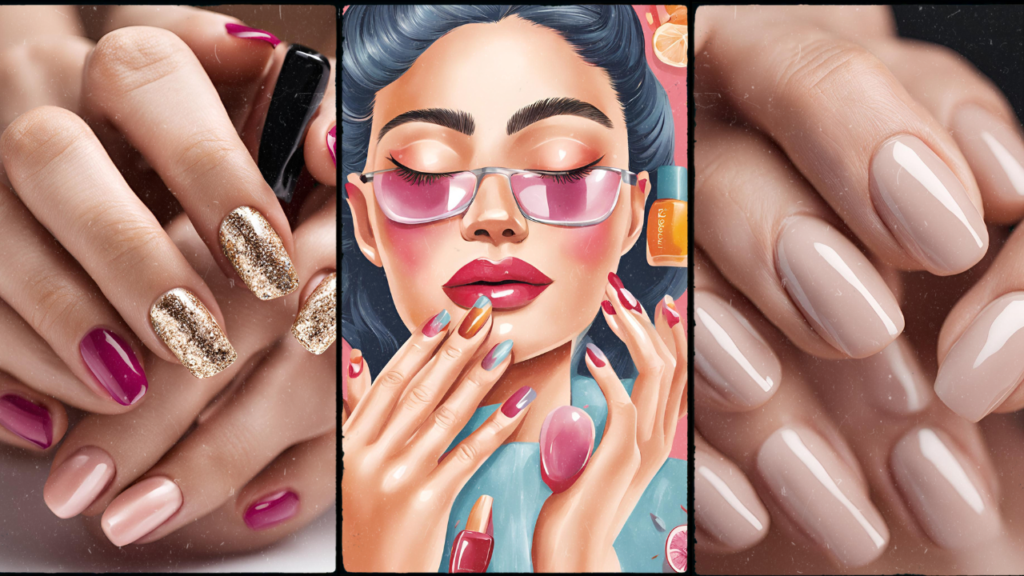
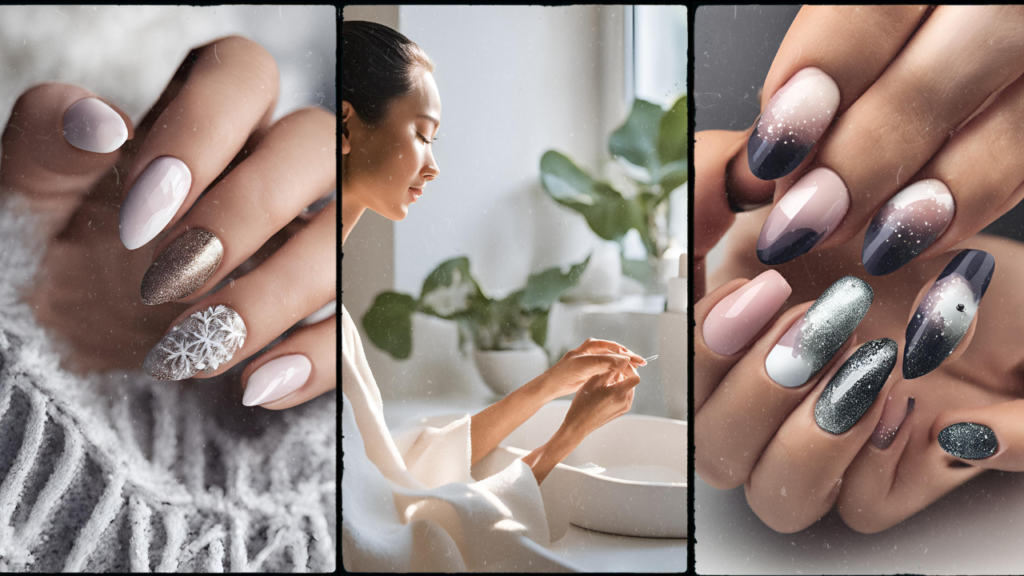
Achieving salon-quality nails at home doesn’t have to be complicated or costly.
With the right tools, techniques, and a little patience, you can create beautiful, long-lasting nails that rival professional results.
Whether you’re new to nail care or looking to improve your technique, this guide will take you through every step, from prepping your nails to finishing touches.
So, if you’re ready to trade expensive salon visits for a DIY approach, keep reading!
Table of Contents
Get Salon-Quality Nails Without Leaving Home
Nail salons offer incredible services, but they also come with a hefty price tag. The good news is that achieving salon-quality nails at home is completely possible, even if you’re a beginner. With the right steps, a few essential tools, and some time, you can create stunning nails that look professionally done—without stepping foot in a salon.
In this blog post, I’ll walk you through the process of achieving beautiful, healthy nails at home. From the basics of nail care to advanced techniques, you’ll have all the tips you need for perfect nails every time.
Prepping Your Nails for Success
Before diving into painting or sculpting your nails, proper preparation is key. Just like a painter wouldn’t start without a clean canvas, your nails need to be prepped properly to ensure the polish goes on smoothly and lasts longer. Here’s how to start:
1. Remove Old Polish
If you’re starting with nail polish, be sure to remove any old layers first. Use an acetone-based remover for stubborn polishes, but if your nails are on the dry side, opt for a non-acetone remover to avoid further drying them out.
2. Trim and Shape Your Nails
Trim your nails to the desired length using sharp nail scissors or clippers. If you’re unsure about the shape, go for a rounded or oval shape for a universally flattering look. Filing your nails should be done in one direction to avoid splitting. I recommend using a glass or crystal file because they’re less abrasive than regular emery boards.
3. Soak and Exfoliate Your Cuticles
To soften the cuticles, soak your nails in warm, soapy water for 5-10 minutes. After that, gently push back the cuticles using a cuticle pusher. Avoid cutting them, as this can lead to infection. You can exfoliate your cuticles with a scrub or use a gentle exfoliating tool to get rid of any dead skin around your nails.
4. Buff Your Nails
Buffing your nails is an essential step for creating a smooth, even surface. Be gentle, as over-buffing can weaken the nail. A soft buffing block works wonders to remove any ridges and help the polish adhere better.
Applying the Right Base Coat and Nail Polish
Once your nails are prepped, it’s time for the fun part: applying polish. But before you dive into color, remember that the right base coat is crucial for both the longevity and health of your nails.
1. Base Coat Application
Start with a thin layer of base coat to protect your nails from staining and to help the polish stick longer. A good base coat can also strengthen nails and promote healthier growth. Apply a thin, even layer, making sure to cover the tip of the nail as well. Let it dry before proceeding.
2. Choose the Right Nail Polish
Selecting the right polish is key to achieving salon-quality nails. You’ll want to choose a high-quality polish that has a smooth, glossy finish. It’s worth spending a little extra on a brand that’s known for its longevity and vibrant color payoff.
When applying the color, it’s important to apply thin layers. Thick layers tend to bubble and chip more easily. A general rule is to apply two coats of color, but you can apply more depending on the opacity of your polish.
3. Nail Polish Application Technique
To apply your polish, start from the middle of the nail, and swipe the polish from the cuticle to the tip in one smooth motion. Repeat on both sides of the nail. Try to avoid getting polish on your skin—if this happens, don’t worry! You can clean it up later with a brush dipped in remover.
Adding the Finishing Touches
After you’ve applied your color, it’s time to lock everything in with a top coat and make your nails shine. These final steps are just as important as the rest.
1. Top Coat Application
A top coat seals your polish and gives it a beautiful, glossy finish. It also helps prevent chipping and extends the life of your manicure. Apply a generous layer of top coat, covering the entire nail surface. Don’t forget to swipe the tip of your nail with top coat to seal the edge and prevent peeling.
2. Clean Up
Use a cotton swab dipped in nail polish remover to clean up any mistakes around your nails. This simple step makes a huge difference, leaving your nails looking neat and professional.
3. Let Your Nails Dry
Allow your nails to dry completely. This step cannot be rushed. If you’re in a hurry, use a quick-dry top coat to speed things up, or invest in a fast-drying spray. Avoid touching your nails until they’re fully dry to prevent smudges or dents.
Caring for Your Nails Post-Manicure
The work doesn’t stop after your nails are dry. Maintaining the health of your nails is just as important as applying polish. Here are a few tips to keep your nails in top shape:
1. Moisturize Regularly
Keep your cuticles and nails hydrated by using a nourishing cuticle oil or hand cream. This helps prevent dryness and cracking, ensuring your nails stay healthy and strong.
2. Avoid Harsh Chemicals
Try to avoid exposing your nails to harsh chemicals like cleaning products or detergents without gloves. These can weaken your nails and cause polish to chip more quickly.
3. Protect Your Nails
When performing tasks like gardening or heavy lifting, make sure to protect your nails. Wearing gloves can prevent chipping and breakage, extending the life of your manicure.
6 Frequently Asked Questions (FAQs)
- How can I make my nail polish last longer?
To extend the life of your manicure, always start with a base coat, apply thin layers of color, and finish with a top coat. Make sure to seal the tips of your nails with top coat to prevent chipping.
- Why are my nails chipping so quickly?
Chipping can occur if you’re applying thick layers of polish or not allowing each layer to dry fully before applying the next. Always apply thin, even layers and allow sufficient drying time between steps.
- Can I use regular polish instead of gel for a longer-lasting manicure?
Yes, regular nail polish can last just as long as gel polish if you use the right base coat, top coat, and application technique. The key is to apply thin layers and seal the tips to prevent chipping.
- How can I fix smudges after my nails dry?
If you accidentally smudge your nails, wait for the polish to dry fully, then gently apply another layer of color over the smudged area. Follow up with a fresh layer of top coat.
- What are the best tools for at-home manicures?
Essential tools for an at-home manicure include nail clippers, a glass file, a cuticle pusher, a buffer, and a high-quality base and top coat. For cleanup, have a nail polish remover and cotton swabs handy.
- How often should I give my nails a break from polish?
It’s important to let your nails breathe every now and then. Consider taking a break from polish for a week or two every few months to allow your nails to recover and regain their strength.
Conclusion: Salon-Quality Nails, Right at Home
Achieving salon-quality nails at home is within reach for anyone, regardless of experience.
By following these simple steps from prepping your nails to finishing with a top coat you’ll be able to create long-lasting, professional-looking manicures without stepping foot in a salon.
Remember, the key is patience, practice, and the right tools. The more you practice, the more confident you’ll become in your nail care routine.
So go ahead ditch the salon and give yourself a DIY manicure that you can be proud of. You’ve got this!


