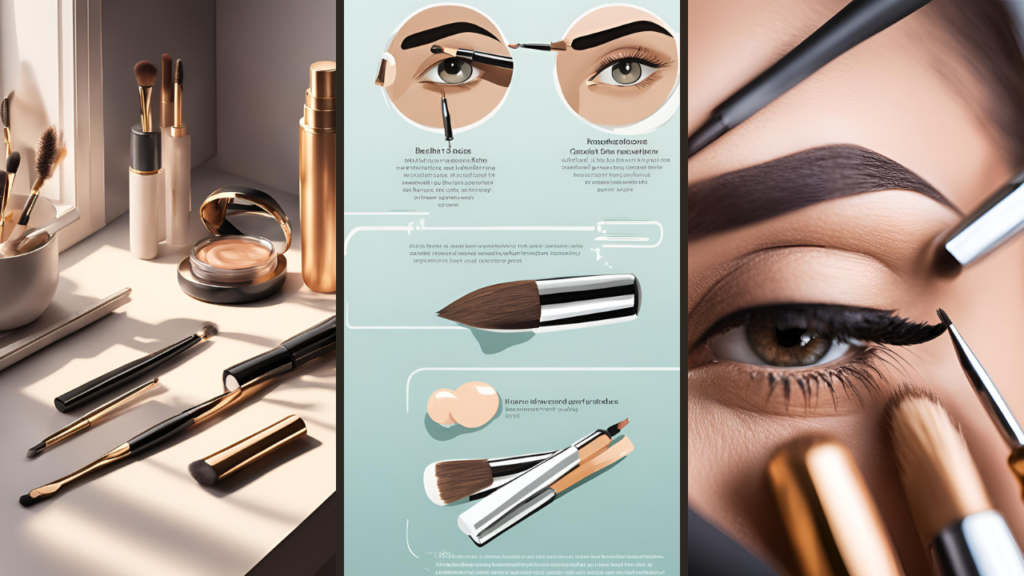
Achieving the perfect eyebrow look can seem overwhelming, but it doesn’t have to be. With the right tools and techniques, anyone can sculpt, shape, and style their brows like a pro.
In this guide, I’ll share the step-by-step process I follow to perfect my eyebrows.
From gathering essential tools to mastering fill-in techniques, this comprehensive guide is tailored for both beginners and seasoned beauty enthusiasts.
Step 1: Gather Your Essential Brow Tools
Before you dive into shaping and styling, you need the right tools. Trust me, having high-quality tools makes all the difference.
Must-Have Eyebrow Tools:
- Precision Tweezers: Ideal for removing stray hairs with accuracy.
- Recommendation: TWEEZERMAN Pointed Slant Tweezer.
- Eyebrow Scissors: Helps trim unruly or long brow hairs.
- Recommendation: Joey Healy Precision Brow Scissor.
- Brow Pencil: For filling in sparse areas and defining the shape.
- Recommendation: Benefit Cosmetics Precisely, My Brow Pencil.
- Spoolie Brush: Perfect for blending pencil strokes and brushing hairs into place.
- Recommendation: Sephora Collection PRO Brow Brush #20.
- Clear Brow Gel: Locks hairs in place for a polished look.
- Recommendation: Anastasia Beverly Hills Clear Brow Gel.
- Cotton Pads: For prepping and cleaning the area before shaping.
- Recommendation: Sephora Organic Cotton Pads.
My Tip:
Always work in natural light if possible. It’s easier to spot stray hairs and achieve symmetry when you’re in a well-lit space.
Step 2: Identify Your Natural Brow Shape
The key to great eyebrows is working with, not against, your natural shape. Here’s a quick mapping technique I use:
Brow Mapping Steps:
- Determine the Start Point:
- Hold a thin makeup brush vertically against the side of your nose. The point where it meets your brow is where your eyebrow should start.
- Find the Arch:
- Angle the brush from the tip of your nose through the center of your pupil. This marks the highest point of your arch.
- Locate the End Point:
- Tilt the brush from the edge of your nose to the outer corner of your eye. This is where your brow should end.
My Insight:
I’ve noticed that many people overpluck because they don’t follow their natural arch. Mapping prevents this and ensures a balanced look.
Step 3: Tweeze with Care
Tweezing can make or break your eyebrow look. Overdo it, and you risk uneven brows or gaps that take weeks to grow back.
Tweezing Tips:
- Prep Your Skin: Wipe the brow area with a warm cotton pad to open pores.
- Work Slowly: Tweeze one hair at a time, pulling in the direction of hair growth.
- Set a Timer: Limit yourself to 10 minutes. This helps prevent over-tweezing.
- Focus on Strays: Only remove hairs outside your mapped brow line.
My Tweezing Experience:
In the past, I’ve gone overboard with tweezing. Now, I stick to a “less is more” approach, and my brows look fuller and more natural.
Step 4: Trim Stray Hairs
Sometimes, the issue isn’t too many hairs but hairs that are too long. Trimming keeps your brows neat without altering their shape.
How to Trim Brows:
- Brush Upward: Use a spoolie to brush brow hairs straight up.
- Snip with Precision: Use eyebrow scissors to trim only the longest hairs that extend beyond your natural brow line.
- Check As You Go: Trim little by little and assess frequently.
My Take:
I’ve found that trimming can instantly make my brows look polished. It’s a quick fix that’s often overlooked.
Step 5: Fill in Sparse Areas
No matter how well-shaped your brows are, sparse areas can make them look uneven. Filling them in adds definition and symmetry.
Steps to Fill In Brows:
- Choose the Right Shade: Pick a brow pencil that matches your natural hair color.
- Start at the Arch: Focus on filling in the middle and tail of your brows first. Use lighter strokes at the start of your brows for a softer look.
- Blend with a Spoolie: Brush through your brows to blend pencil lines and create a natural effect.
- Set with Gel: Apply clear brow gel to keep hairs in place all day.
My Advice:
When I first started filling in my brows, I made the mistake of using a shade too dark. Now, I stick to a shade slightly lighter than my hair color for a more natural finish.
Extra Tips for the Perfect Eyebrow Look
Avoid These Common Brow Mistakes:
- Over-tweezing the tail of your brows, which can make your eyes appear droopy.
- Filling in brows with harsh lines instead of soft, feathered strokes.
- Neglecting to blend, which can leave your brows looking drawn-on.
My Quick Fix for Uneven Brows:
Use a highlighter or concealer along the edges of your brows to clean up the shape and make them pop.
Frequently Asked Questions
How Often Should I Shape My Brows?
I recommend grooming your brows every 2-3 weeks to maintain their shape without overdoing it.
Can I Use Eyeshadow Instead of a Brow Pencil?
Yes, in a pinch! Use a matte eyeshadow in a matching shade and an angled brush for application.
Are Thick Brows Still Trendy?
Absolutely! Full, natural-looking brows remain a popular trend. Focus on enhancing your natural shape rather than over-plucking.
My Personal Brow Routine
To wrap up, here’s a quick summary of my daily eyebrow routine:
- Brush brows with a spoolie to tidy up hairs.
- Fill in sparse areas using a brow pencil.
- Blend with the spoolie for a natural finish.
- Lock in the look with clear brow gel.
Taking just 5 minutes each morning makes a huge difference in framing my face and boosting my confidence.
With the right tools and techniques, creating the perfect eyebrow look is achievable for anyone. Whether you’re a beginner or an experienced beauty enthusiast, this guide provides everything you need to sculpt and style like a pro. Remember, practice makes perfect. Happy brow shaping!


