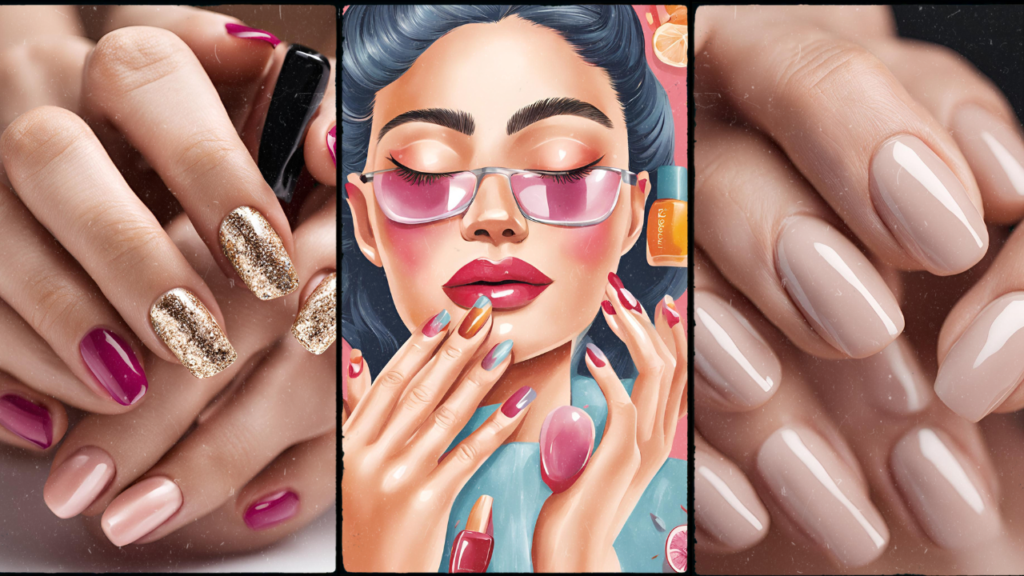
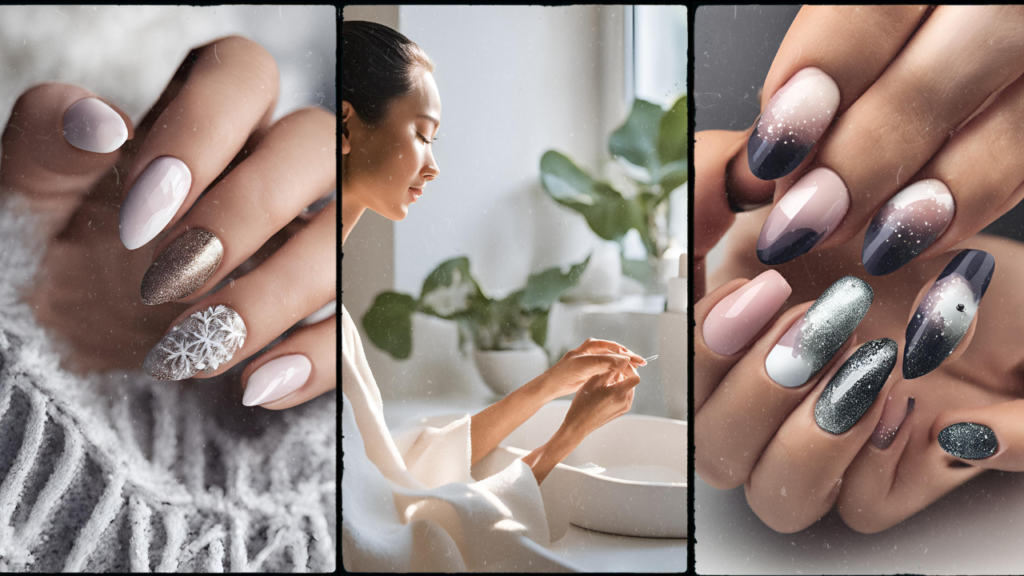
Nail art is a fun and creative way to express yourself. Whether you’re heading to a party, an event, or just want to add a little extra flair to your look, nails are a small yet significant canvas.
If you’ve ever felt intimidated by all the fancy designs online or wondered how to start, you’re not alone! Nail art doesn’t have to be complicated or expensive there are simple, easy-to-do ideas that anyone can try.
In this guide, I’ll walk you through 15 nail art ideas that are perfect for beginners, complete with step-by-step instructions.
I’ll share my personal experiences, tips, and tricks that have helped me, so you can confidently dive into the world of nail art without fear.
Ready to give your nails a creative makeover? Let’s get started.
Table of Contents
1. Classic French Manicure Twist
A French manicure is timeless and elegant, but let’s add a little twist to it. Instead of the typical white tips, try using pastel colors or even metallic shades for a fun, fresh look.
Step-by-Step:
- Apply a base coat to protect your nails.
- Paint your nails a light color like nude or soft pink.
- Once dry, use a striping tape or painter’s tape to mark the tip area.
- Paint the tips with your chosen color (pastels or metallics work great).
- Let it dry, then remove the tape gently.
- Apply a top coat for a glossy finish.
Personal Tip: I love using a soft lavender or mint color for the tips—it gives a fresh feel while staying sophisticated!
2. Polka Dots Perfection
Polka dots are one of the easiest designs to pull off, and they’re super cute! You don’t need fancy tools for this—just a bobby pin or a dotting tool.
Step-by-Step:
- Start with a base color (a simple white or nude works best).
- Let the base color dry completely.
- Use a dotting tool or bobby pin to create dots on your nails.
- Play with sizes—try large dots on one nail and tiny ones on another.
- Finish with a top coat to seal the design.
Personal Tip: I usually do alternating nails with different colored dots—it adds more character without overcomplicating things.
3. Marble Nails
Marble nails are surprisingly easy for beginners! The swirl effect gives your nails a sophisticated and high-end look, and the best part is, no two nails will ever be the same.
Step-by-Step:
- Start with a white or light-colored base coat.
- Drop a few different colored polishes (I love black, grey, or gold) onto a piece of plastic or a paper plate.
- Use a nail art brush or a toothpick to swirl the colors together.
- Dip your nail into the marble mixture.
- Clean up the edges and finish with a top coat.
Personal Tip: I’ve found that using a light base with bold marbled accents gives the nails a soft yet striking look.
4. Gradient Ombre Nails
The ombre nail trend is perfect for beginners because it’s more about blending colors than creating intricate designs. Plus, it looks amazing!
Step-by-Step:
- Apply a base coat and let it dry.
- Choose two complementary colors. Start with the lighter color at the base of your nails.
- Apply the darker color to the tip of your nails.
- Use a makeup sponge to blend the two colors together.
- Press the sponge against your nails, moving from bottom to top.
- Apply a top coat for a smooth finish.
Personal Tip: The key is to blend the colors well, so don’t rush it! Take your time and use a light hand for a seamless transition.
5. Striped Nails
Stripes are classic, easy, and versatile. You can choose thick or thin stripes, or even create a mix of horizontal and vertical lines.
Step-by-Step:
- Start with a base color of your choice.
- Let it dry completely.
- Use striping tape or a fine nail art brush to paint lines in different directions.
- You can create one nail with vertical stripes, and another with diagonal or horizontal stripes.
- Seal with a top coat.
Personal Tip: You can get creative with colors—neon colors for summer or rich jewel tones for winter work really well!
6. Floral Nails
Floral designs can be simple and charming! I personally love to add tiny flowers on my nails—they look delicate and sweet without needing a lot of skill.
Step-by-Step:
- Start with a pastel base color for a soft look.
- Use a small dotting tool to create five small dots in a flower shape.
- Add tiny green dots at the center for leaves.
- You can even add some white dots or lines for extra detail.
- Finish with a clear top coat.
Personal Tip: If you’re not great at freehanding flowers, there are tons of nail stickers or stencils available to help!
7. Geometric Shapes
If you love clean lines and sharp angles, geometric nails are a stylish and trendy option. Think triangles, squares, and rectangles for an edgy look.
Step-by-Step:
- Apply a base coat and let it dry.
- Use tape to create geometric shapes like triangles or squares.
- Paint the spaces within the shapes with different colors.
- Carefully remove the tape once dry and finish with a top coat.
Personal Tip: I enjoy using metallics or matte colors for a chic, modern feel.
8. Glitter Gradient
A little sparkle can elevate any look, and glitter gradient nails are the perfect way to add some glimmer to your tips without overdoing it.
Step-by-Step:
- Start with a solid base color.
- Apply a glitter polish starting from the tips of your nails.
- Gradually reduce the amount of glitter as you move towards the base of the nails.
- Seal with a top coat to smooth it out.
Personal Tip: I like to use a gold glitter polish—it adds a bit of luxury to the design while staying understated.
9. Accent Nail
If you’re a little intimidated by bold designs, the accent nail is a great starting point. It involves doing something special on just one or two nails for a pop of interest.
Step-by-Step:
- Paint all your nails with your base color.
- Choose one nail to be your accent nail.
- You can do a bold color, glitter, or even a simple design like a stripe or dot on that one nail.
- Finish with a top coat.
Personal Tip: I often do one glitter nail or a marble accent to make the whole look stand out without being overwhelming.
10. Negative Space Nails
Negative space nails are super chic and modern. The idea is to leave part of your nail exposed, creating a minimalist design that’s still eye-catching.
Step-by-Step:
- Start with a base coat and let it dry.
- Use tape or a nail art brush to create shapes like lines or dots while leaving part of your nail bare.
- Paint the rest of your nail with your chosen color.
- Let it dry, then remove the tape carefully.
Personal Tip: This design works well with nude tones and white polish for a clean, contemporary feel.
11. Confetti Nails
Want something playful? Confetti nails are a fun, colorful way to liven up your manicure. This is another easy design you can try.
Step-by-Step:
- Start with a base coat.
- Apply a clear or light-colored polish.
- Using a dotting tool or brush, place small dots or confetti-like shapes in various colors on your nails.
- Once it’s dry, seal the look with a top coat.
Personal Tip: Use bright colors for a summer look or muted tones for something more subtle.
12. Animal Print Nails
Leopard spots, zebra stripes—animal print nails are always in style and can be surprisingly simple to do.
Step-by-Step:
- Apply a beige or brown base color.
- Using a small brush or dotting tool, create irregular, circular spots for a leopard look, or lines for a zebra design.
- You can use black or dark brown to outline the spots.
- Finish with a top coat.
Personal Tip: Animal print nails are bold, but they’re also great for adding personality to your nails!
13. Color Block Nails
Color blocking is all about using contrasting colors in bold blocks. It’s fun, modern, and easy to do, even for beginners.
Step-by-Step:
- Start with a base color on all nails.
- Use tape to section off parts of your nails, and then fill in with your contrasting colors.
- Remove the tape and finish with a top coat.
Personal Tip: I love using black, white, and red for a classic color-block look that always pops!
14. Sponge-Stamped Nails
This is a simple method to create a cool, gradient-like effect without using a sponge directly on your nails.
Step-by-Step:
- Paint your nails with a light base color and let it dry.
- Drop some polish onto a piece of plastic or paper plate, then use a sponge to dab the color onto your nails.
- Experiment with different colors to see what works best.
- Top off with a clear coat.
Personal Tip: This technique gives your nails a watercolor effect that looks soft and dreamy.
15. Simple Stripes with Tape
A clean, minimalist look—perfect for anyone looking for an easy yet striking design.
Step-by-Step:
- Apply your base color and let it dry completely.
- Use a striping tape to create a design—horizontal, vertical, or diagonal.
- Paint over the tape with a contrasting color.
- Once dry, remove the tape and add a top coat.
Personal Tip: This design works well with two contrasting colors like black and gold or navy and white.
Conclusion
Nail art doesn’t have to be complicated to look beautiful. Whether you want something chic and elegant or fun and colorful, there are plenty of simple designs to try. The key is to experiment and have fun! Start with these 15 easy ideas, and soon you’ll be creating your own nail art masterpieces. Remember, nail art is all about expressing yourself, so don’t be afraid to mix and match colors and styles.
FAQs
- What’s the best base coat to use for nail art?
A good base coat is essential to help your nail art last longer and protect your nails. Look for a clear, strengthening base coat that helps polish adhere better. - How do I make my nail art last longer?
Make sure to always apply a top coat. It protects your design from chipping and gives it a glossy finish. - Can I use regular nail polish for nail art?
Absolutely! You don’t need special nail art polish. However, using nail art tools, like dotting tools or brushes, can help create cleaner designs. - How do I fix mistakes in nail art?
No worries! Just dip a small brush or cotton swab in nail polish remover and gently clean up any mistakes. - Is it difficult to do nail art at home?
Not at all! Start with simple designs like dots or stripes, and practice—soon you’ll be creating gorgeous nail art with ease. - Can I use stickers or stencils for nail art?
Yes! Nail stickers and stencils are a great way to add fun designs without needing advanced skills. Just apply them to your dry nails and finish with a top coat.