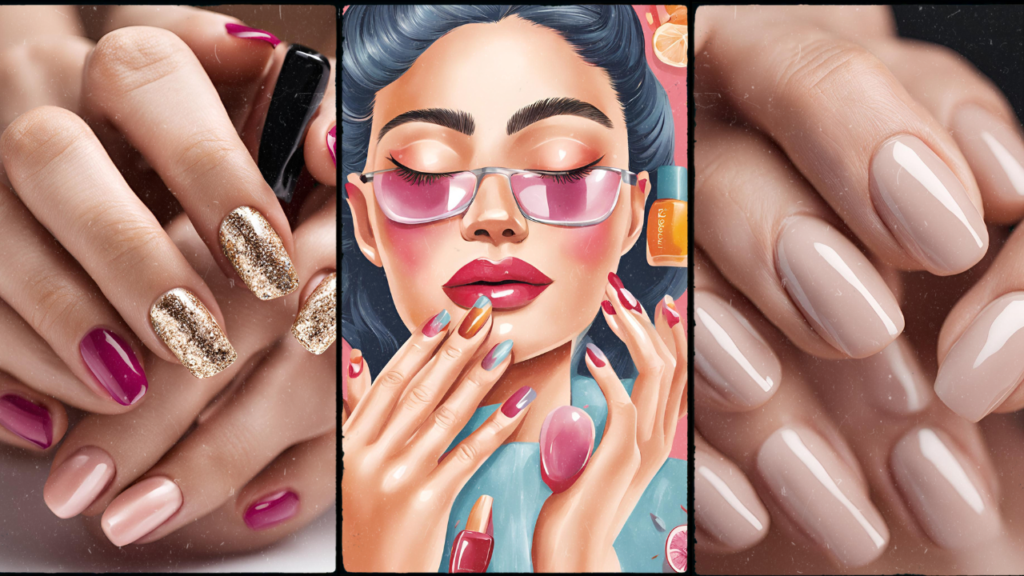
If you’re like me, there are days when a trip to the nail salon simply doesn’t fit into your schedule (or budget).
But guess what?
That doesn’t mean your nails have to suffer.
With just a few basic tools and a little creativity, you can create stunning nail art designs at home that’ll have your nails looking like they just came from a professional salon.
Whether you’re a beginner or a seasoned pro, there are plenty of easy nail art designs that anyone can try with minimal effort.
In this guide, I’ll walk you through 39 easy and creative nail art designs, focusing on simple yet eye-catching techniques that can be done with basic supplies.
You don’t need a steady hand or years of practice to pull off a chic design.
Trust me, I’ve been there! From minimalist lines to bold accents and playful patterns, these designs are perfect for anyone who wants to add a little flair to their nails without leaving home.
So let’s dive in and discover how you can create stunning nail art designs at home!
Table of Contents
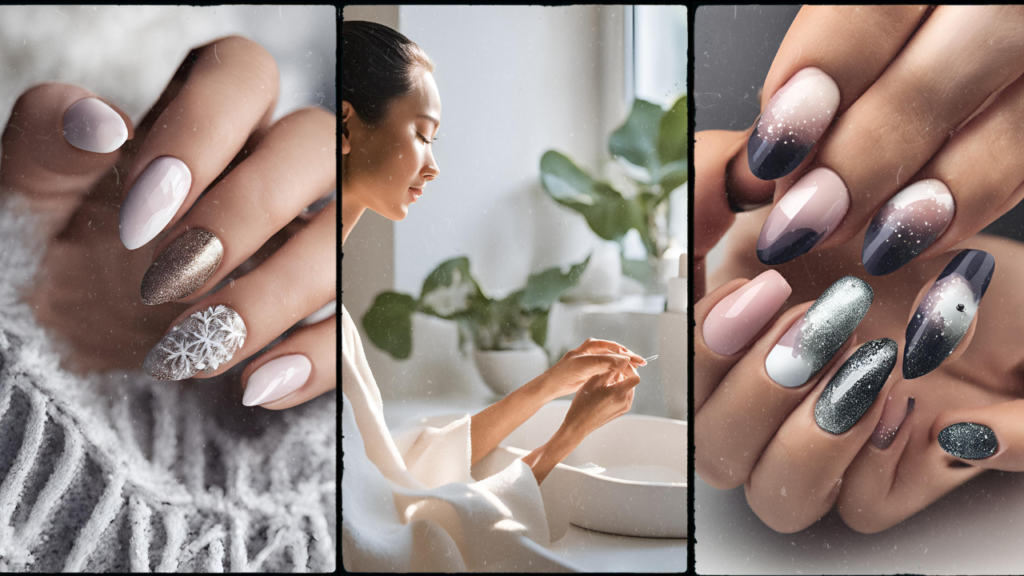
Types of Easy Nail Art Designs
1. Abstract & Artistic Designs
Abstract designs can look complicated, but in reality, they’re one of the easiest ways to create eye-catching nail art.
One of my favorite abstract designs is Wavy Reds—a simple swirl of red lines on a nude or white background.
The key to abstract art is freedom; you can experiment with different shapes and patterns, and they don’t need to be symmetrical or perfect.
A steady hand helps, but even if you’re not the best at drawing, the organic nature of abstract designs can help you create a polished look.
Tips for Achieving Artistic Designs:
- Use thin nail brushes or even a toothpick to create your lines.
- Practice on paper first if you’re unsure.
- Don’t worry about symmetry—embrace imperfection!
2. Simple Stripes & Lines
Stripes and lines are the foundation of many easy nail art designs.
Take White Stripes, for example—just a thin white line on nude nails. This minimalistic design is timeless, and with a little patience, it can look very polished.
It’s one of those designs that works for any occasion, from a day at the office to a casual outing with friends.
Technique for Using Striping Brushes:
- Use a striping brush for thin, clean lines.
- Hold your hand steady, or use a piece of tape for precise line placement.
- Add different colors for a bold effect or stick with one color for something sleek.
3. Bold Accents & Shapes
Adding a bold accent nail can elevate any manicure. Statement Star, for example, involves painting your nails red and adding a star accent on the ring finger with white or gold polish.
Simple, yet it makes a big statement. The key is to focus on one design element whether it’s a star, heart, or geometric shape and place it on just one or two nails to keep the look balanced.
How to Incorporate Simple, Bold Accents:
- Use a nail stencil or freehand your designs.
- Stick to one bold accent per hand to avoid overwhelming the look.
4. Glitter & Metallic Accents
Glitter and metallics can add an elegant touch without making the design too flashy.
Shimmering Tips is a design where you apply gold glitter to the tips of nude nails, creating a simple French tip effect but with a bit of sparkle.
Glitter doesn’t have to be all over the nails just at the tips or in small accent areas for a chic look.
How to Incorporate Glitter and Metallics:
- Apply glitter gently at the tips or along the edges.
- Use metallic shades as accents, not the entire design.
- Layer it for extra shine without making it overpowering.
5. Mismatched & Fun Designs
I love a Pastel Mismatch design—it’s playful and colorful, perfect for when you’re feeling a bit adventurous. The idea is to paint each nail a different pastel shade—pink, blue, green, lavender. The trick to pulling off mismatched nails is to make sure they still look cohesive by choosing colors that complement each other.
Creating a Cohesive Mismatch Look:
- Stick to a color palette, such as pastel shades, to maintain balance.
- If you’re not sure which colors to choose, go for shades that naturally go together, like pink, lavender, and mint.
Tips and Tricks from Nail Experts
1. Using Nail Stickers for Easy Art
If you’re looking for an easy way to add designs to your nails without any drawing skills, nail stickers are a game-changer. For example, Starry Details involves using star stickers on apricot nails for a whimsical, effortless look. The best part about nail stickers is that they’re super easy to apply, and they can add intricate details to your design without any effort.
Why Nail Stickers Are a Lifesaver:
- They’re a fast way to add designs without the need for a steady hand.
- There are so many options—floral, geometric, stars, animals—you name it.
- Nail stickers are perfect for beginners.
2. Using Brushes for Clean Lines and Details
If you’re aiming for precision, a striping brush is your best friend. Take Golden Stripes—a design where you paint pastel nails with a thin metallic gold stripe down the center. Using a brush makes it easy to achieve professional-looking results, and you don’t need to be a pro to make it work.
Tips for Using Brushes:
- Choose a thin, precise brush for detailed designs.
- Use a steady hand and make sure to take your time.
- Practice on paper if you’re unsure how the brush works.
3. Layering Techniques for Depth
Layering colors can add depth to your nail art. Gilded Half Moons is a design where you apply metallic gold half moons at the cuticle. This layering technique can be as simple or as complex as you like. Layering can make your nails look more dynamic, and it’s one of the easiest ways to create depth without overcomplicating your design.
How to Layer Effectively:
- Apply one color, let it dry, then apply another on top.
- Make sure the first layer is completely dry before applying the next to avoid smudging.
Fun and Playful Nail Designs
1. Polka Dots & Dots of All Sizes
Polka dots are a timeless design, and they’re super easy to do at home. Party Dots is a fun design where you use green and white dots on nude nails. You don’t need fancy tools—just a dotting tool or the end of a bobby pin works perfectly. Whether you use different colors or stick with a monochrome look, polka dots can be both playful and sophisticated.
How to Create Fun Polka-Dot Designs:
- Use a dotting tool for even circles.
- Experiment with different dot sizes and placement to keep things interesting.
- Choose contrasting colors for a bolder effect.
2. Geometric Shapes & Minimalism
If you prefer modern and sleek designs, Geometric Accents might be perfect for you. A simple pink base with a metallic purple triangle on the accent nail can look both contemporary and elegant. You don’t need to go overboard with geometric shapes—keeping it simple will keep it chic.
Tips for Creating Geometric Designs:
- Use tape to create clean, straight lines.
- Focus on one or two geometric shapes to avoid cluttering your nails.
- Choose colors that contrast well for maximum impact.
Simple Yet Elegant Designs
1. Monochrome & Contrasting Colors
Sometimes less is more. Graphic Black and White nails are a perfect example of how simple can be stunning. A graphic black and white look—such as white nails with black stripes down the center—can be bold, yet easy to pull off.
Why Monochrome Works:
- Monochrome designs are timeless and can work for any occasion.
- A black and white combination is always in style and easy to pull off.
2. Two-Tone Designs
Two-Tone Purple is a minimalist design where you use two contrasting shades of purple on your nails. A diagonal line across your nails divides the two colors, creating an elegant, modern look.
How to Create Two-Tone Designs:
- Use painter’s tape to create sharp lines.
- Choose colors that complement each other, such as light and dark versions of the same color.
- Keep the line clean for a professional look.
FAQS
1. Do I need special tools to create nail art at home?
You don’t need fancy tools to get started with nail art! Basic supplies like nail polish, a striping brush, dotting tools, or even the end of a bobby pin can help you create beautiful designs. Nail stickers are another great option if you want to add intricate designs without needing a steady hand.
2. How do I make sure my nail art lasts longer?
To make your nail art last longer, start with a clean base by removing any oils from your nails. Apply a base coat to protect your nails, then finish with a top coat to seal in your design. Make sure each layer is completely dry before applying the next, and avoid using your nails as tools to prevent chipping.
3. How do I fix mistakes in my nail art?
Mistakes happen, but don’t worry! You can easily fix them by waiting for the nail polish to dry and then gently removing the error with a small brush dipped in nail polish remover. If it’s a big mistake, you might need to start over, but small fixes are easy to handle.
4. How do I clean up nail art after I’m done?
Once you’re finished with your design, use a small brush or a cotton swab dipped in nail polish remover to clean up any polish around your cuticles or skin. Be gentle to avoid smudging your design, and once cleaned, apply a top coat to ensure everything stays neat.
5. What are the best colors for beginner nail art designs?
For beginners, it’s best to start with simple designs and colors that are easy to work with. Neutral shades like nude, white, or pastel colors are great for beginners because they’re versatile and forgiving. You can add accent colors or metallics for a little extra flair as you become more comfortable with the process.
Conclusion
As you can see, creating stunning nail art designs at home doesn’t have to be complicated or time-consuming. With just a few basic tools—like nail brushes, stickers, and a little imagination—you can transform your nails into works of art. I’ve spent countless hours experimenting with these simple designs, and I can tell you from experience that anyone can do it, no matter their skill level. So grab your favorite nail polishes and get started—whether it’s a playful polka dot design or a chic two-tone look, the possibilities are endless.
Nail art is all about expressing yourself, and the best part is, you don’t have to be perfect to make your nails look amazing. So why not give it a try? After all, the only rule is to have fun with it!